I’ve decided to name this recipe Beryl after my Great Nan, the OG of cake baking! This recipe is based off my Great Nan‘s and so it just felt right to name it after her.
This recipe is Gluten Free, but if you swap the Gluten Free components for Gluten Containing ingredients the cake will still be just as good! It is also a 1:1 ratio when swapping from Gluten Free to Gluten Containing, which makes it super easy for you!!
Ingredients;
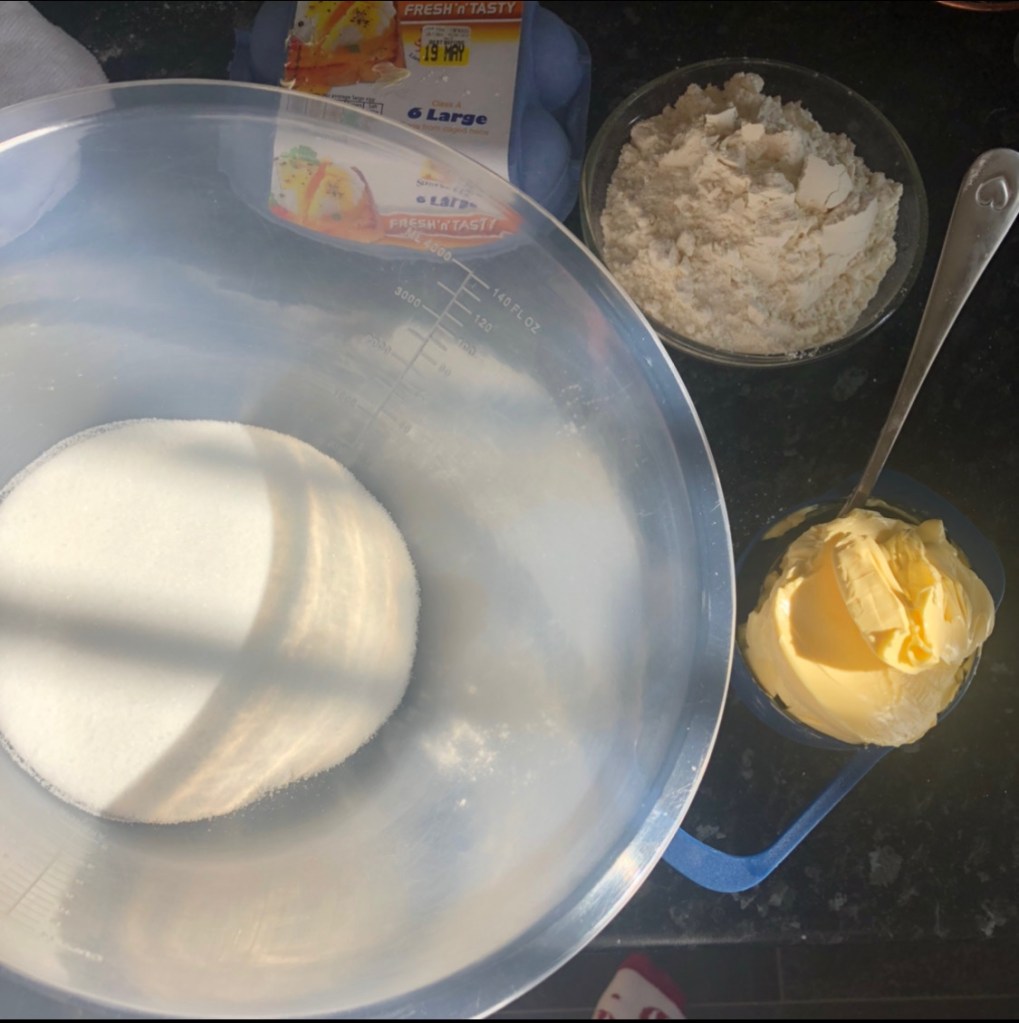
8oz Self Raising GF Flour,
8oz Stork Butter (or margarine),
8oz Caster Sugar,
4 eggs (medium),
2 oz Stork Butter (or margarine),
4 oz Icing Sugar,
1tsp of Vanilla extract
Method for cake;
1. Preheat your oven at Gas Mark 4, this also works out to be approximately 175 degrees for an electric
2. Cream the butter and caster sugar together until you have a light creamy mixture. If you are using an electric whisk or mixer this will only take a couple of minutes, if you are doing it by hand I recommend a large metal spoon and a lot of patience. This took me around 5 minutes to ensure the mixture was creamy and light.
3. Add your eggs bit by bit, for example one egg at a time, ensuring to beat the well with each addition. At this point you will find your batter isn’t the prettiest! That is absolutely fine.
4. You will now want to fold in your flour, ensuring you are adding it bit by bit as to not over mix your batter or throw flour out the bowl. I prefer to fold my flour by hand, however, you can still use an electric mixer.

5. Now you can add your batter to your desired tin! This mixture will fit inside two 7-inch tins. You can either add to one 7-inch tin or two 7-inch or similar sized tins.

6. Once you have moved your batter into your desired tins, bake in the centre of the over for approximately 25-35 minutes for multiple tins or 40-45 minutes for one 7-inch tin. Make sure you check your cake(s) cooked prior to allowing it to cool. I use a skewer* to ensure the batter has cooked through. If the skewer comes out sticky or with a lot of batter visible then it isn’t cooked. If it comes out with a few crumbs then the batter is cooked through.
(*You can purchase a cake testing probe to do the same job as the skewer!)
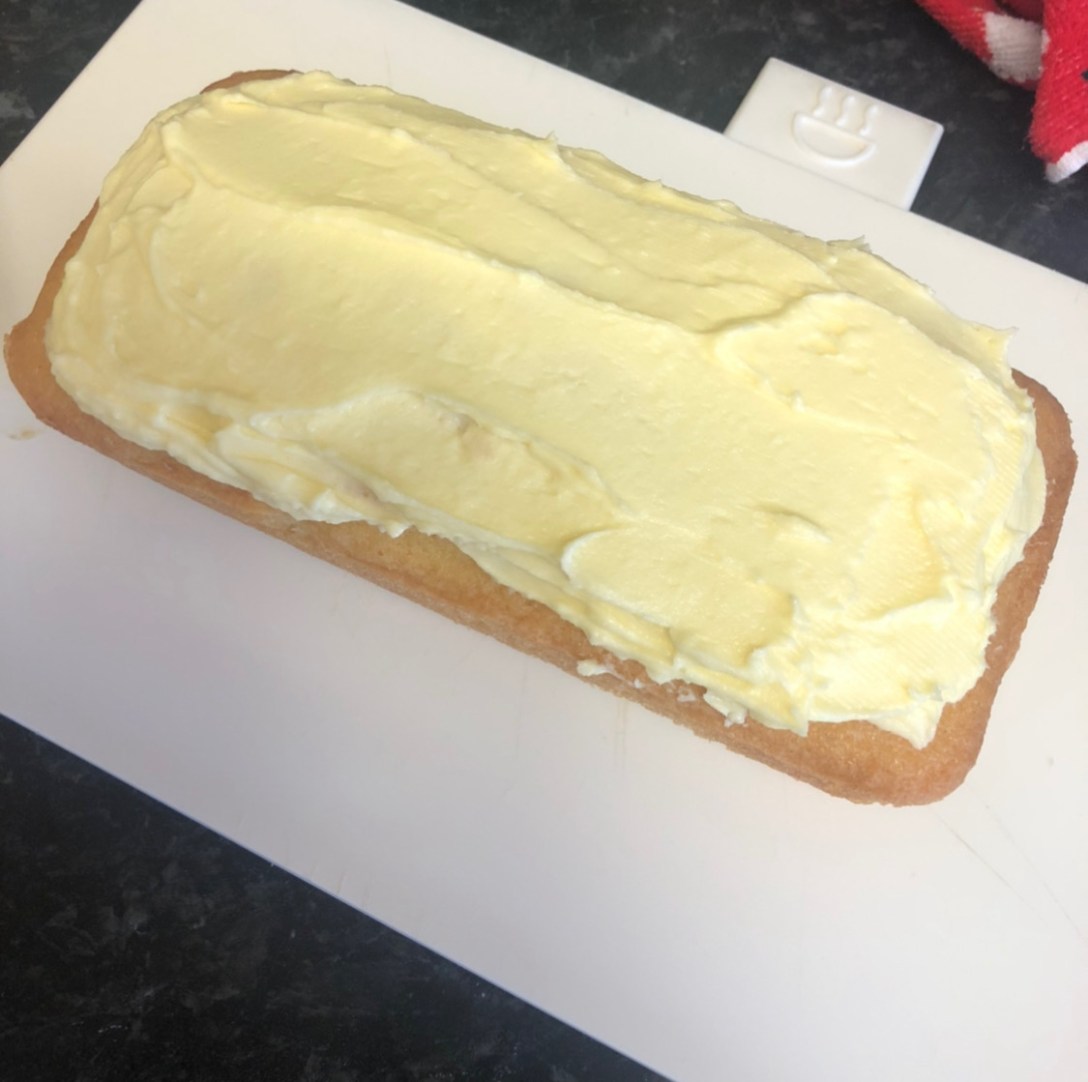
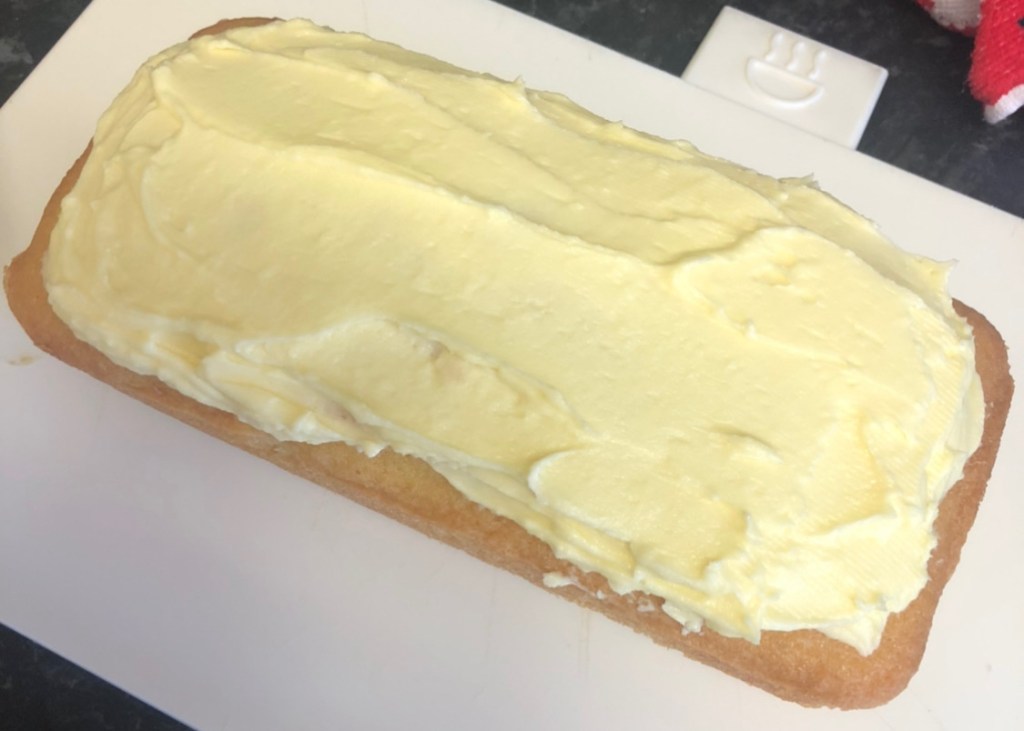
7. Allow cake to cool, remove from tin(s) and prepare to decorate! If you have used one 7-inch tin you will be able to cut your cake in half and fill it with your desired jam and buttercream to make the perfect Victoria sponge cake! I have included below my go to method for making vanilla buttercream.
Method for Buttercream;
1. Cream your butter and icing sugar together, by adding little bits at a time of icing sugar.
2. Once the mixture is smooth and creamy, add vanilla essence and mix thoroughly.
This is enough buttercream to sandwich the Victoria Sponge cake together, if you double the quantity you will have enough to sandwich and decorate! If you wanted to you could add different flavouring or colouring to your buttercream! Alternatively for chocolate buttercream, you will want to add 1oz of melted chocolate.
I have used this recipe to make Victoria Sponges, loaf cakes and even cupcakes! This quantity makes roughly 24 cupcakes, which is perfect when making them as a gift or as an afternoon cream tea treat…
If you do use this recipe be sure to let me know how you found it via the comments or even on Instagram! You can even use the hashtag theunluckycoeliacrecipe on instagram for me to see your creations!!
with love
The Unlucky Coeliac xo
